Building a new home on a rural property is an exciting milestone — and the internet planning decisions you make during construction can mean the difference between a home that’s perfectly set up for broadband for decades and one that requires expensive retrofitting later. Unlike urban and suburban home construction where internet infrastructure is largely determined by the neighborhood’s existing cable or fiber plant, rural home builders have far more control over their connectivity infrastructure — and far more responsibility to plan it correctly. This comprehensive guide covers everything you need to know about planning, installing, and setting up internet infrastructure when building a new rural home in 2026.
In This Guide
- Why Internet Planning Must Happen Early in Construction
- Pre-Construction Internet Assessment
- Conduit and Infrastructure Planning During Construction
- Preparing for Satellite Internet (Starlink)
- Preparing for Future Fiber
- Optimizing for Cellular Home Internet
- Whole-Home Network Infrastructure
- Getting Internet During Construction
- Rural New Construction Internet Checklist
- FAQs
Why Internet Planning Must Happen Early in Construction
The most expensive internet infrastructure decisions in a rural new construction project are those made after the drywall is up. Running conduit through finished walls, adding network drops to completed rooms, and retrofitting a dish mount onto a finished roof all cost dramatically more than installing these elements during rough-in construction. Worse, poor pre-planning often results in compromises that affect daily life for as long as you own the home — a router forced into a corner because there’s no conduit to the optimal location, a dish mounted in a suboptimal position because the preferred spot was missed during construction, or outbuildings without network connectivity because nobody ran Ethernet underground during the foundation phase.
Internet infrastructure planning should happen at the same stage as electrical, plumbing, and HVAC planning — during design, before breaking ground. The cost to add network-ready infrastructure during construction is minimal (typically 1–3% of construction cost) compared to the cost and disruption of retrofitting it later.
Pre-Construction Internet Assessment
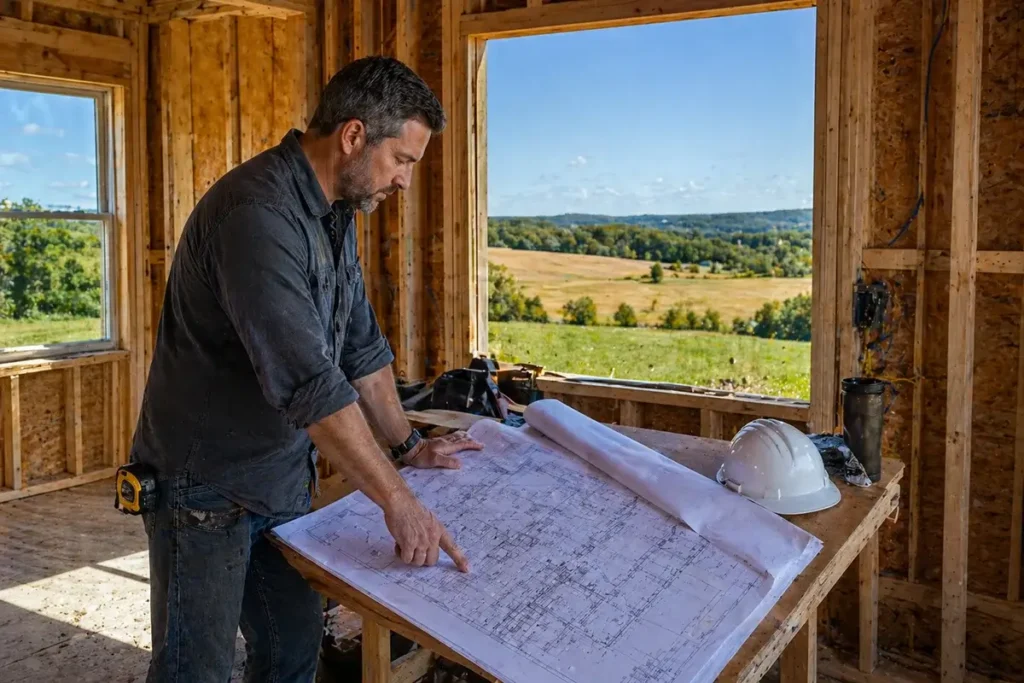
Before finalizing your home’s design and siting, conduct a thorough internet assessment for your property. The decisions you make during this assessment should influence where you place the home on the lot, where you orient the roof peak, and where you position outbuildings relative to the main house:
Step 1: Identify all available options. Check the FCC broadband map at broadbandmap.fcc.gov for your address. Contact your rural electric cooperative about broadband programs. Check T-Mobile and Verizon Home Internet eligibility. Contact any local WISPs in your area. This assessment gives you a complete picture of what’s available now and what may become available within your building timeline (BEAD-funded deployments may change the picture within 2–5 years).
Step 2: Run the Starlink sky obstruction scan. Even if you plan to use another internet option as primary, Starlink is an excellent backup — and understanding the sky obstruction profile of different locations on your property helps you choose the best dish installation site before construction begins. Walk the property with the Starlink app in sky-scanning mode and note which locations have the best northern sky clearance. If your home’s planned footprint places the roof peak in a location with significant obstruction, consider whether adjusting the home’s orientation would improve Starlink site options.
Step 3: Assess cellular signal at ground level. Note which carriers have signal, signal strength at different locations on the property (especially at higher elevation points), and in which directions the strongest signal originates. This information guides where to install cellular antennas and which carrier to prioritize for home internet or backup connectivity.
Step 4: Contact fiber providers for future plans. If a BEAD-funded fiber deployment is planned for your area within 5 years, pre-installing a fiber conduit from the road easement to your home now costs almost nothing and saves significant retrofitting expense when fiber becomes available. Ask your rural electric cooperative, telephone company, and state broadband office about planned fiber deployments in your area and anticipated timelines.
Conduit and Infrastructure Planning During Construction
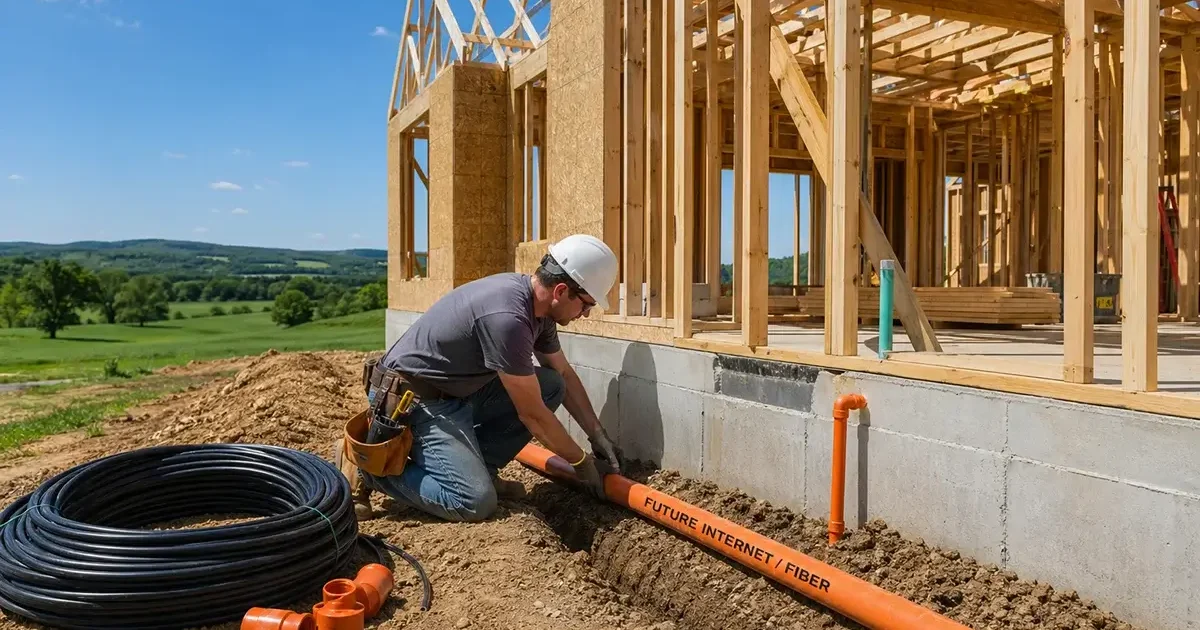
The single highest-value internet investment you can make during construction is comprehensive conduit installation. Conduit costs almost nothing to install during rough-in and enables future cable runs of any type at any time — fiber, Ethernet, coaxial — without opening walls:
Exterior conduit runs:
- Install 1.5-inch or 2-inch Schedule 40 PVC conduit from the utility easement/road to your home — the path that future fiber, cable TV, or telephone service would follow. Cap both ends during construction to keep debris out.
- Install 1.5-inch conduit from each potential exterior dish or antenna mounting location (roof peak, chimney, south wall, north wall) down to a central interior location (utility room, home office, basement) where a network equipment closet will be located.
- Install 1.5-inch underground conduit from the main home to each outbuilding (garage, barn, shop, ADU) at 18–24 inches depth. Pull a pull string through each conduit to facilitate future wire installation.
Interior structured wiring:
- Run Cat6A Ethernet cable from a central network closet to every room in the house during rough-in — the cost of cable and labor during construction is a fraction of what it costs to add drops later. Include home office, bedrooms (one each), living area, kitchen, and any outbuilding connection points.
- Install a dedicated 20-amp circuit in your network closet for router, switch, UPS, and network equipment. Include a separate 15-amp circuit near each potential dish mounting location for dish power supply.
- Install two 1-inch conduit runs between your network closet and attic space, for future wireless access point drops and any cable additions that aren’t anticipated at construction time.
Preparing for Satellite Internet (Starlink)
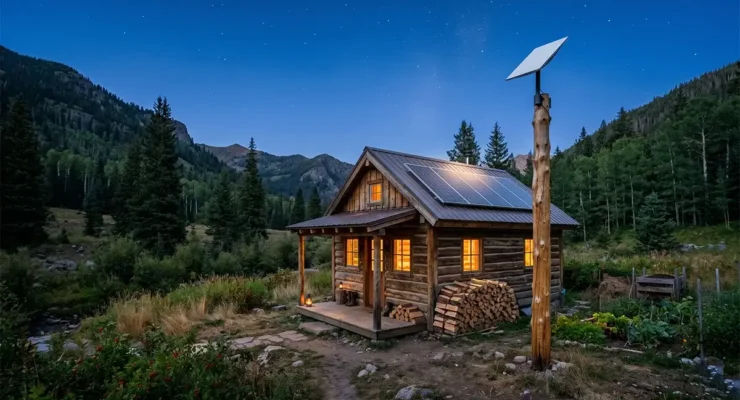
For most rural new builds, Starlink will be either the primary internet connection or an important backup. Design the home’s infrastructure to accommodate the best possible Starlink installation:
Optimal dish mounting locations — plan these before roof design is finalized:
- The ideal Starlink installation position is on or near the roof peak, giving the dish a 360° sky view with maximum elevation above potential obstructions. When finalizing your roof design, ensure the peak orientation allows dish mounting with cable routing to the interior.
- A dedicated 2-inch galvanized steel pipe ground mount location — planned during site work — provides maximum flexibility in dish placement and avoids all roof penetration concerns. Plan this during site grading, when a concrete anchor is trivial to install.
- Install conduit from the chosen dish location to the interior network closet during rough-in. The Starlink cable cannot be extended beyond 150 feet and cannot be spliced — the conduit path from dish to router must be within this distance.
Plan for dish power near the mounting location: The Starlink router needs to be within the 75–150 foot cable distance of the dish, and the router needs a 120V outlet. If the dish is mounted on the roof, plan a dedicated outlet in the attic, interior room, or network closet that falls within cable distance of the dish location.
Preparing for Future Fiber
If BEAD-funded fiber is anticipated for your area within 5–10 years, installing fiber-ready conduit now is one of the highest-ROI infrastructure decisions you can make. Fiber to the home (FTTH) delivers symmetric gigabit speeds and will likely be the permanent gold standard for your home’s primary internet. The incremental cost of fiber-readiness during construction is minimal; the cost of retrofitting is significant:
Install 2-inch conduit from the road easement to the home’s network closet. Position the exterior end of the conduit at the utility entry point most likely to be used by future service providers — typically near the power meter or telephone demarcation point, where utilities typically enter properties. Label the conduit ends clearly and keep records of the conduit routing in your home’s construction documentation.
Pre-wire the network closet with fiber patch panels. Even before fiber service exists, installing a 24-port fiber patch panel in your network closet positions you to connect immediately when fiber arrives without any additional interior work.
Whole-Home Network Infrastructure for Rural New Builds
Rural new construction is an opportunity to build the ideal whole-home network from scratch rather than retrofitting an existing structure:
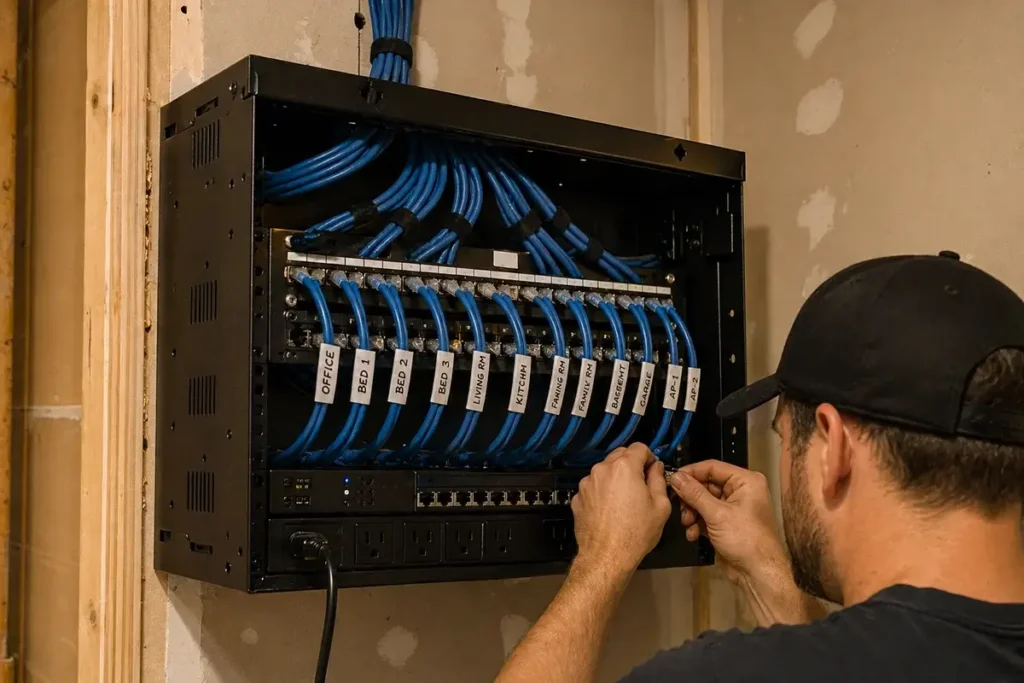
Network closet: Designate a dedicated 2×4 foot wall section (or small utility room if possible) for all network equipment. Install a 12U wall-mount network rack that accommodates your router, unmanaged switch, patch panel, UPS, and any future additions. This keeps all network equipment organized, ventilated, and accessible for maintenance.
In-wall Cat6A to every room: Cat6A (augmented Category 6, rated for 10 Gbps) is the appropriate specification for a new build that should serve your internet needs for 20+ years. The incremental cost over Cat6 is small and the future-proofing benefit is significant. Terminate all runs at the network closet patch panel and at wall-mounted keystone jacks in each room.
Outdoor access points for outbuildings: Plan underground Cat6 direct-burial runs to any outbuilding during site work — this is trivially easy to include in initial trenching that would be expensive and disruptive to add later. Include pull string in all conduit for future cable additions.
Whole-home mesh Wi-Fi: For the interior wireless network, plan wall-mount access point locations in each major zone of the home, with in-wall Ethernet drops at each location. A Ubiquiti UniFi or Eero Pro 6E system with wired backhaul (each mesh node connected to the network via Ethernet rather than wireless) delivers the most reliable whole-home Wi-Fi coverage available.
Getting Internet During Construction
Rural construction projects face a unique challenge: you need internet for communication, permit research, contractor coordination, and remote work during the construction period — often before your permanent internet infrastructure is installed. Options for construction-phase connectivity:
- Starlink Roam ($150/month, portable): Order a Starlink dish before construction begins, use it at the site during construction from the temporary power service, and transition it to a permanent mount when construction is complete. The Roam plan’s portability means no address change is needed as you move from construction phase to occupancy.
- Cellular hotspot from your carrier: A mobile hotspot plan ($40–$80/month) provides basic connectivity throughout construction without requiring any fixed installation. Adequate for communication and light work; may struggle for high-bandwidth video calls if signal is weak at the construction site.
- Temporary T-Mobile Home Internet ($50/month): If T-Mobile coverage exists at your construction address, a temporary gateway delivers home-quality internet at the site without dish installation requirements. Cancel when permanent internet is established.
Rural New Construction Internet Checklist
Use this checklist to ensure you don’t miss any critical infrastructure decisions during your build:
- ☐ FCC broadband map assessment completed — providers and coverage documented
- ☐ Starlink sky obstruction scan performed at multiple property locations
- ☐ Cellular signal strength measured at property — carriers and signal strength noted
- ☐ Fiber-ready conduit from road easement to network closet location installed
- ☐ Conduit from all potential dish mounting locations to interior network closet installed
- ☐ Underground conduit to all planned outbuildings installed during site work
- ☐ Cat6A Ethernet pulled to all rooms from central network closet during rough-in
- ☐ Dedicated electrical circuit installed in network closet
- ☐ Outlet installed near planned dish mounting location
- ☐ Network closet wall rack and patch panel installed before drywall
- ☐ Pull strings in all conduit for future cable additions
- ☐ All conduit ends labeled and routing documented in construction records
- ☐ Temporary internet solution arranged for construction period
Frequently Asked Questions
Should I wait to choose my internet provider until I move in?
No — the physical infrastructure decisions you make during construction (conduit placement, dish mounting locations, interior cable runs) need to be based on your expected internet technology before walls are closed. You don’t need to subscribe to a provider before construction is complete, but you need to know whether you’re planning for Starlink, cellular, or fiber as your primary option so that conduit runs are positioned correctly for that technology’s physical requirements.
What is the most important internet infrastructure decision in a rural new build?
Installing conduit from exterior dish/antenna mounting locations to your interior network closet during rough-in. This single decision costs almost nothing during construction (a few hundred dollars in conduit and labor) and allows you to install, replace, or upgrade your internet connection hardware at any future time without opening walls. Many rural homeowners who didn’t plan for this during construction spend $1,000–$3,000 on retrofit work when they switch from HughesNet to Starlink and discover the cable path requires wall penetrations through finished drywall.
Is it worth running Cat6A to every room?
Yes, unambiguously, in a new build. The incremental cost of Cat6A over Cat6 is small (approximately $0.05–$0.10 per foot), and the labor cost of adding Ethernet drops to finished walls later is typically $150–$300 per drop. Running Ethernet to all rooms during rough-in typically costs $800–$2,000 total including materials and electrician labor. The same work after move-in would cost $3,000–$8,000 or more. See the CEDIA (Custom Electronics Design and Installation Association) resources for structured wiring best practices that apply directly to rural new construction planning.


Leave a Reply