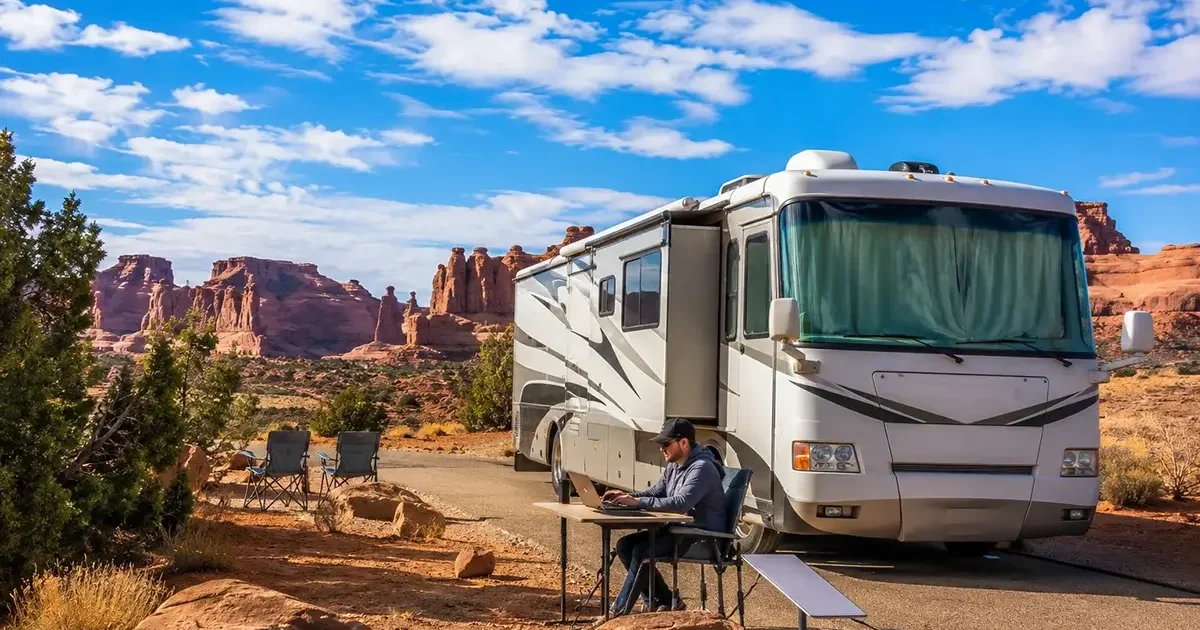
The RV community has embraced Starlink more enthusiastically than any other user segment outside of rural homeowners — and for good reason. Satellite internet that follows you to any campsite in North America, delivers 50–100 Mbps regardless of location, and costs a flat monthly fee has transformed the full-time and part-time RV lifestyle in ways that were unimaginable before 2021. But setting up Starlink correctly for RV use — choosing the right plan, mounting the dish securely on or for your rig, managing the dish when stationary versus traveling, integrating with your RV’s power system, and extending coverage throughout your coach — requires specific knowledge that this guide provides in complete detail for 2026.
In This Guide
- Choosing the Right Starlink Plan for RV Use
- Hardware Options for RV Installation
- Permanent Roof Mount Setup
- Portable Ground Mount for Campsite Use
- Powering Starlink in Your RV
- Cable Routing Through Your RV
- Router Setup for RV Networks
- Cellular Backup for RV Travelers
- Campground Considerations
- Managing Data on the Road
- Frequently Asked Questions
Choosing the Right Starlink Plan for RV Use
The most important RV Starlink decision is plan selection — and it depends entirely on whether you need connectivity while the RV is moving or only when parked.
Starlink Roam ($150/month) — Best for most RV users: The Roam plan provides location flexibility across the US (Regional Roam) or worldwide (Global Roam at $200/month) and allows service pausing during months you’re not RVing. The 50 GB priority data limit is the key limitation — full-time RVers who stream heavily may exhaust this quickly. Roam with the standard Gen 3 dish requires stationary use — the dish will not operate while the RV is moving at highway speeds.
Starlink Roam + In-Motion ($200/month) + Flat HP dish ($2,500): For RVers who want internet while driving — for passengers, navigation, or continuous connectivity during travel — this combination enables in-motion use. The Flat HP dish is the same marine-grade hardware used on boats, rated for use at any vehicle speed. The $2,500 hardware investment is significant but eliminates the need to set up and take down the dish at each campsite, as the rooftop-mounted Flat HP dish operates continuously.
Starlink Priority ($250/month) for full-time RVers with heavy data use: Full-time RVers who work remotely, stream heavily, or have multiple devices demanding consistent performance may find Roam’s 50 GB priority data limit a constant management burden. Priority’s unlimited priority data eliminates this concern, though it requires adding the Portability add-on ($25/month) to use at locations other than your registered home address — effective cost $275/month for full portable Priority service.
Hardware Options for RV Installation
| Hardware | Cost | In-Motion? | Best For |
|---|---|---|---|
| Standard Gen 3 Dish | $349 | No — stationary only | Part-time RVers, portable setup at each site |
| Flat HP Dish | $2,500 | Yes — any speed | Full-time RVers wanting always-on connectivity |
| Standard Gen 3 on permanent RV mount | $349 + $100–$300 mount | No — stow while moving | Full-timers who don’t need driving connectivity |
Permanent Roof Mount Setup for RVs
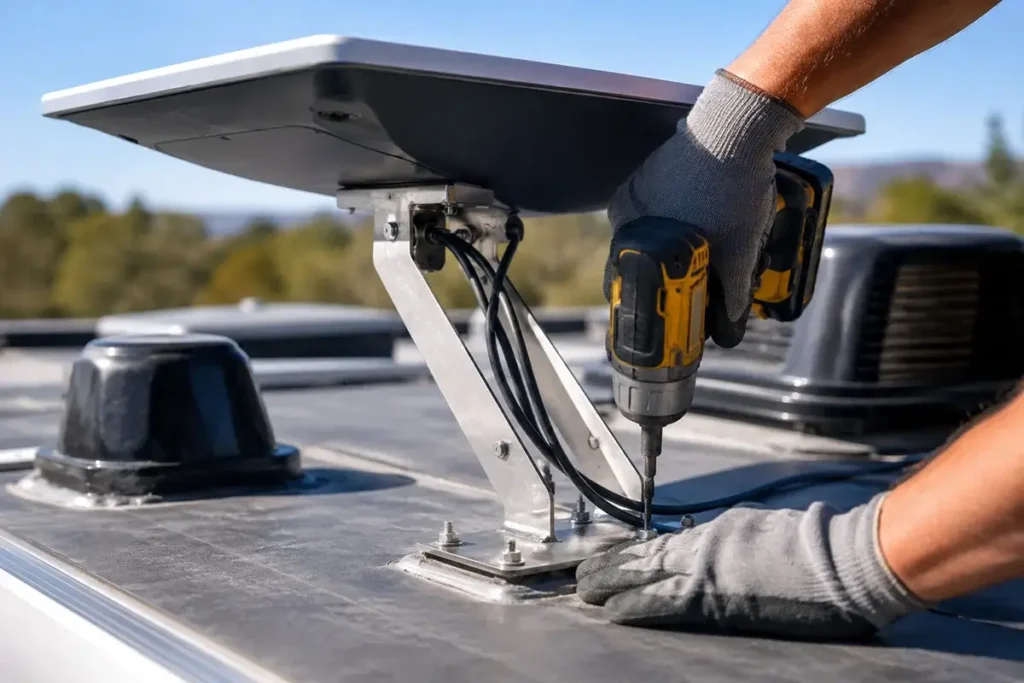
Most full-time RVers with a standard Gen 3 dish choose a permanent roof mount rather than the portable ground stake that comes in the box. Permanent roof mounting eliminates the daily setup/teardown ritual at each campsite and provides a more secure platform in windy conditions. Key considerations for RV roof mounting:
Tilting mount for stowing while driving: The most important feature of any RV permanent dish mount is the ability to tilt the dish to a flat/horizontal position for travel — reducing wind resistance and preventing dish damage at highway speeds when it cannot operate anyway. Several RV-specific Starlink mounts from TechnoRV, Winegard, and other suppliers include built-in tilt mechanisms. Without a tilt mechanism, you must manually remove and stow the dish before every driving segment and reinstall at each campsite — defeating the purpose of a permanent mount.
Roof penetration and weatherproofing: Any roof mount requires a cable entry point through the RV roof — a potential leak source if not properly sealed. Use a purpose-built RV cable entry gland or cable entry plate rated for RV roofs (not standard residential weatherproof fittings, which may not adhere properly to the EPDM or TPO roofing materials common on RVs). Apply Dicor lap sealant around all roof penetration points after installation and inspect seasonally.
Height considerations: Adding a Starlink dish mount to your RV roof increases your overall height. Measure your new total height carefully — the standard Gen 3 dish on a typical RV mount adds 6–12 inches to roof height. Update your GPS navigation system with the new vehicle height to prevent drive-through-clearance surprises on roads with bridges, tunnels, or overhead clearance restrictions.
Powering Starlink in Your RV
The Starlink Gen 3 system draws approximately 50–75W in normal operation. For RV power systems, this load is modest but continuous when the system is active:
Shore power (120V AC at a campground hookup): Simply plug the Starlink router into your RV’s AC outlet. No additional considerations beyond ensuring your power management system doesn’t shut off the AC outlet circuit when operating on pedestal power.
Generator operation: Starlink operates normally on generator power. The main consideration is that generator power quality (voltage stability and frequency) affects electronics longevity — a small UPS between the generator output and the Starlink router provides clean, stable power and protects against generator voltage fluctuations that can damage sensitive electronics over time.
12V/24V DC battery system (boondocking): For dry camping without hookups, powering Starlink from your RV’s house battery bank requires a DC-to-AC inverter or a dedicated 12V Starlink power adapter. The standard Starlink Gen 3 router uses 100–240V AC input. Running through an inverter is the most straightforward approach — a 200W pure sine wave inverter (not modified sine wave, which can cause electronic issues) connected to your house batteries provides clean AC power for the Starlink system. Alternatively, third-party 12V Starlink power adapters convert 12V DC directly without an inverter, saving approximately 10–15% in conversion efficiency loss. At 75W consumption, Starlink will drain a 100Ah lithium battery (approximately 1.28 kWh usable) in roughly 17 hours of continuous operation — relevant for multi-day boondocking without solar charging.
Solar integration: Most modern RVs with solar setups can power Starlink continuously during daylight hours through their existing solar-to-battery-to-inverter system. Verify your solar array and battery bank are sized for the additional 75–100W continuous load — on a mostly-sunny day at a stationary campsite, a 400W+ solar array easily covers Starlink’s power consumption while also charging the house battery bank.
Router Setup for RV Networks
The included Starlink router handles Wi-Fi distribution adequately for a typical RV interior. For larger Class A motorhomes or fifth wheels where the router’s placement near the dish connection may be at one end of the coach while the living area is at the other, Wi-Fi signal can be weak at the far end. Solutions:
- Starlink Mesh Node ($130): Add a Starlink mesh node at the far end of the coach. Connects wirelessly to the primary Starlink router. Simple setup through the Starlink app. The most plug-and-play solution for larger coaches.
- Third-party travel router (GL.iNet Beryl AX, $80): A compact travel router connected to the Starlink router via Ethernet Adapter and Bypass Mode provides network features the Starlink router lacks — VPN, custom DNS, detailed traffic monitoring. Popular with full-time RVers who want granular network control in a form factor appropriate for mobile living.
- Pepwave MAX Transit Duo ($600–$800): The preferred router for technically advanced RVers — dual-SIM cellular WAN plus Wi-Fi WAN capability, LTE backup with automatic failover, and the ability to manage both Starlink and cellular data sources through a single unified network. The industry standard for serious full-time RV digital nomads.
Campground Considerations for Starlink Users
Campground Starlink use requires some specific awareness that differs from home installation:
Sky obstructions at campgrounds: Trees are the most common campground Starlink problem. A campsite under a dense tree canopy may have 40–60% sky obstruction — generating constant brief disconnections that make video calls and streaming frustrating. Before setting up for a long stay, run the Starlink app’s sky scanner from your campsite to identify obstruction levels. Request a site with open sky if tree coverage is a concern.
Campground policies: Most campgrounds permit Starlink setup with a dish on the ground or on a portable stand. Some campgrounds restrict roof-mounted antenna deployments or dishes on poles above certain heights. The Starlink app’s “Stow for Transport” function quickly lowers the dish to its flat position for sites where a deployed dish is problematic. Know your campground’s policies before arrival.
Neighbor courtesy: In crowded campgrounds, the Starlink dish emits radio frequency signals that are generally not harmful to electronics but may potentially interfere with some nearby devices. Position the dish away from neighboring campers’ sleeping areas and entertainment systems as a general courtesy practice, though interference from the Starlink dish at typical campground distances is generally not a documented problem.
Frequently Asked Questions
Can I keep Starlink running while driving my RV?
With the standard Gen 3 dish on the Roam plan: no. The dish will not operate at highway speeds — it detects motion and shuts down to protect the motorized self-orienting mechanism. For driving connectivity (passengers streaming, navigation, work on rest stops), use your cellular hotspot. With the Flat HP dish and In-Motion add-on: yes, full in-motion connectivity at any driving speed. The $2,500 hardware investment is significant — most RVers choose the standard Gen 3 dish for campsite use and cellular hotspot for the road.
How does Starlink perform at popular RV campgrounds?
Performance varies significantly based on how many other Starlink users are in the same coverage cell. Very popular destinations (Yellowstone area, Florida state parks in winter, Moab in peak season) may have many Starlink users simultaneously, creating peak-hour congestion similar to a densely populated urban coverage cell. At less popular campgrounds and during off-peak hours, rural coverage cell performance is typically excellent. Check community resources like Campendium and RVillage where RVers report Starlink performance at specific campgrounds.
What is the best Starlink plan for a full-time RVer?
For full-time RVers who use the internet heavily (streaming, remote work, multiple devices), Starlink Roam’s 50 GB priority data limit is typically insufficient. The most practical full-time RVer configuration is Starlink Roam with careful data management and a cellular data plan as supplemental high-speed data source when Roam’s priority data is exhausted. Alternatively, upgrading to Starlink Priority with Portability add-on ($275/month) provides unlimited priority data at higher monthly cost but eliminates all data management overhead — the premium may be justified for remote workers and heavy streamers. See our complete Starlink plan comparison guide for detailed analysis of each plan’s suitability for different RV use cases.
Boondocking and Off-Grid Starlink Tips for RVers
Dry camping (boondocking) without electrical hookups is one of the most popular RV experiences in North America — dispersed camping on BLM land in Utah, Arizona, and Nevada, primitive camping in national forests, and remote camping sites accessed only by high-clearance vehicles. Starlink’s ability to provide broadband from any location with sky access has transformed the boondocking experience, enabling remote workers and families to stay connected while camping far from any infrastructure.
Key boondocking Starlink considerations:
- Power budget: At 50–75W for the Starlink dish and router, a 200Ah lithium battery bank can power the system for 2–4 days without solar input. With a 400W solar array in full sun, Starlink’s power consumption is easily offset by solar generation throughout the day, enabling indefinite off-grid operation in sunny conditions.
- Cellular signal at popular boondocking spots: Many popular BLM and forest dispersed camping areas are completely outside cellular coverage — making Starlink the only connectivity option. This is precisely the scenario where Starlink’s satellite-based coverage provides unique value that no cellular service can match.
- Tree cover at forest boondocking sites: The most common boondocking Starlink problem is trees blocking the satellite signal. Choose campsites with open sky overhead or park with the dish aimed at the clearest sky quadrant. The Starlink app’s sky scanner helps identify which site orientation minimizes obstruction at a specific camping location.
International RV Travel with Starlink
For RVers crossing into Canada or Mexico, Starlink Global Roam ($200/month) enables seamless connectivity across borders without the cellular roaming charges that make international RV travel expensive for data users. Crossing into Canada from the US or into Mexico does not require any account changes on Global Roam — the system connects to satellites serving those geographic areas automatically.
Coverage quality varies between countries. Canada has full Starlink coverage throughout its populated south and increasingly into its northern territories. Mexico’s coverage is good in the Baja Peninsula, the popular Copper Canyon corridor, and Pacific coast regions popular with RV snowbirds. Remote interior Mexico and Central American travel should check Starlink’s current coverage maps before planning routes dependent on connectivity. For the most current international coverage information, the Starlink coverage map in the app or on Starlink’s website is updated regularly as coverage expands.

Leave a Reply